
Make your own kite.
We’ve done some research and come up with two great how-to guides to build your kites for our Matariki celebration. One is a little easier to put together than the other (provided there’s a parent-helper to operate the stapler!).
We look forward to seeing you at our special kite-flying event at the park on Wednesday 8 July, at 1030am.
This kite is really simple and lends itself nicely to some additional decoration with coloured pencils or stickers. You can also add a beautiful tail and tie on some bows and sparkles to make it even more spectacular as it catches the wind.
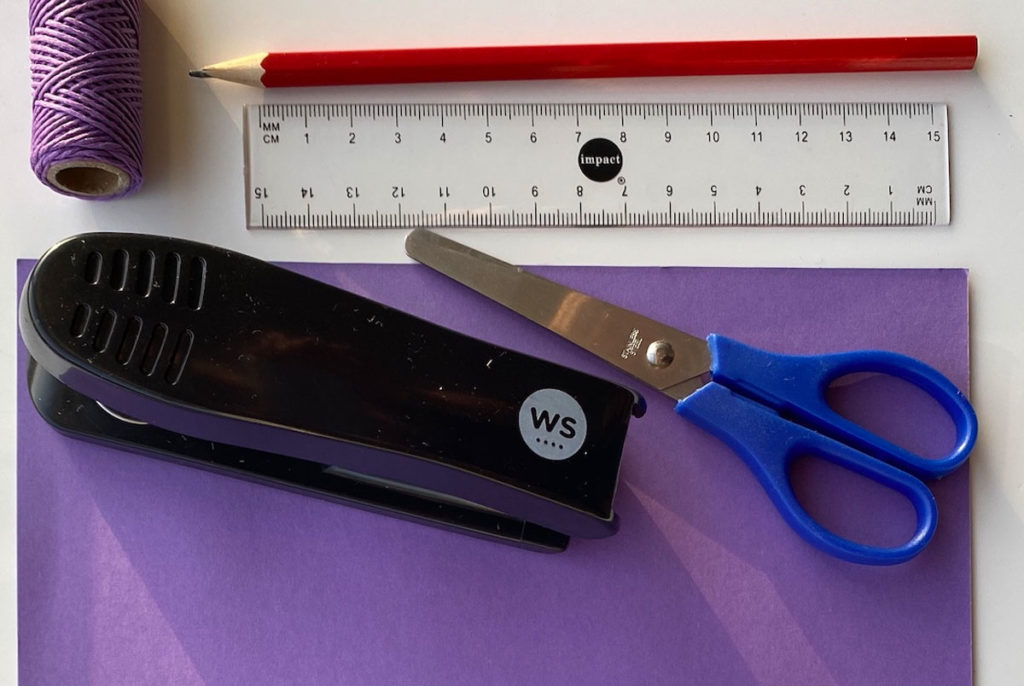
Here’s what you need:
If you would like to decorate your kite, it’s a good idea to do it before you begin folding. You can do this on either side of the piece of paper and if you add something sparkly it will look extra beautiful as it catches the light and flies through the air.
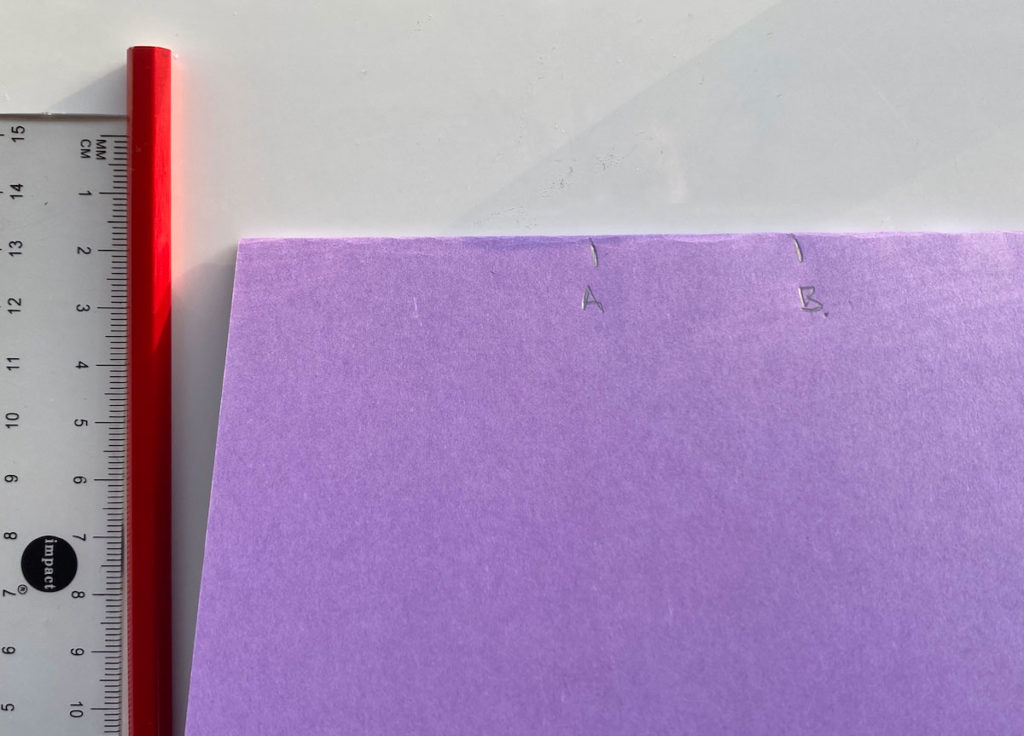
Fold your A4 paper in half so it’s now A5 in size. Along the fold mark 2 points, A at 6cm in from the edge and B at 9.5cm in from the edge.
Fold the outside corners of the paper up and staple them together at point A.
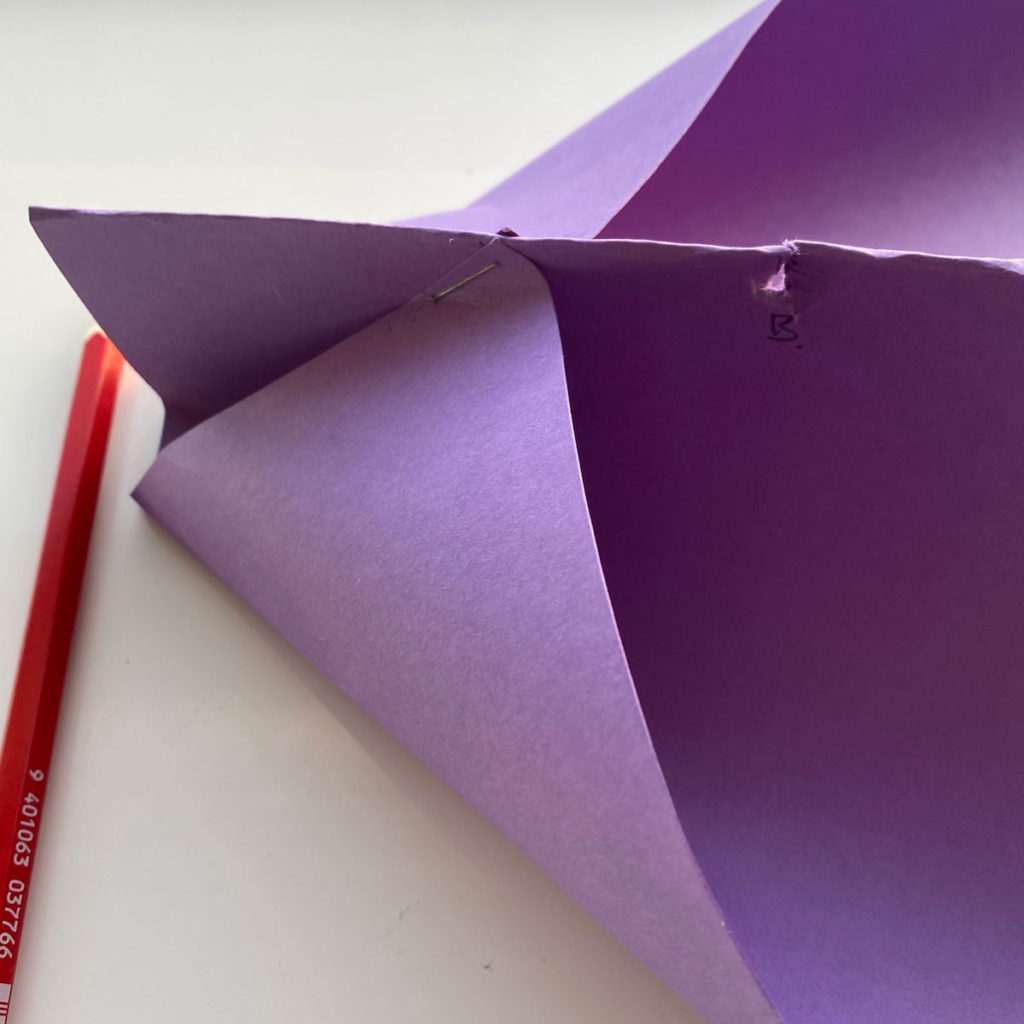
Push a hole through the paper at point B (you can either use your pencils or a hole punch but watch out for little fingers here).
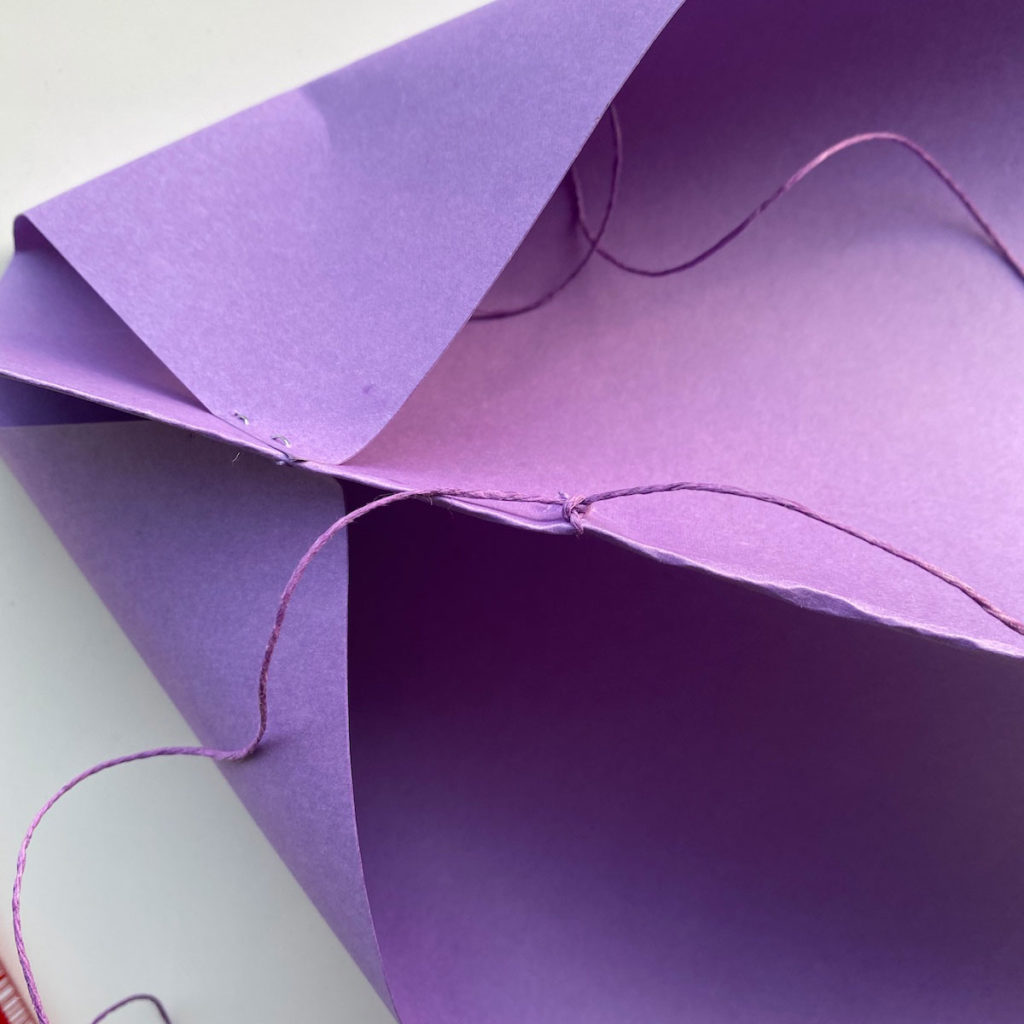
Thread your string through the hole at B, and knot it to hold it secure. If you would like to create a tail for your kite you can leave a long length of string to hang down and decorate here.
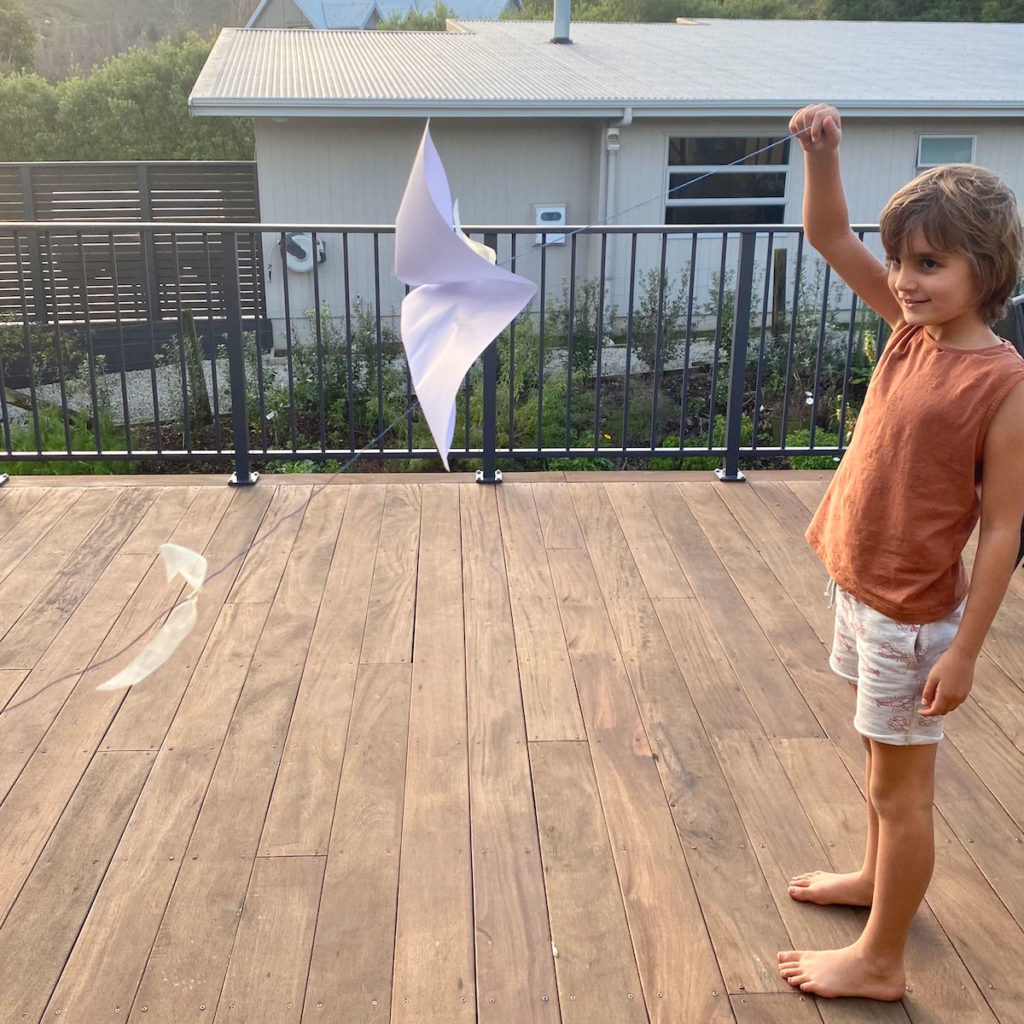
Your kite is now ready to fly. If it’s a lovely windy day – hold on tight. The wind should catch your kite and make it fly beautifully. If the wind isn’t gusting as strongly you might need to run around a bit to get it airborne.
That sounds like even more fun!
This kite is a bit more traditional in its look, and it can be a bit trickier to make and fly so is better suited to older children – or done mostly by a parent. Try to choose a pretty tape, or if you prefer to you can glue down the edges. If you want to decorate this kite it’s a good idea to do it at the end. Remember this kite flies well because it’s very light and the wind can catch it easily – it’s a good idea not to weigh it down too much with decorations.
Here’s what you’ll need:
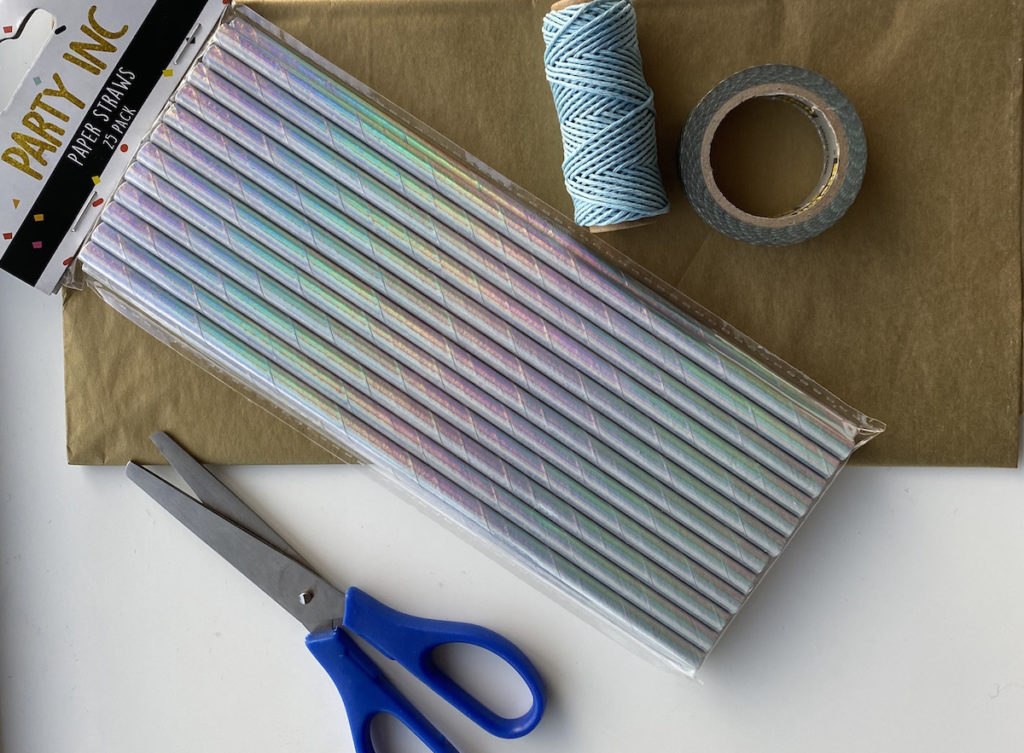
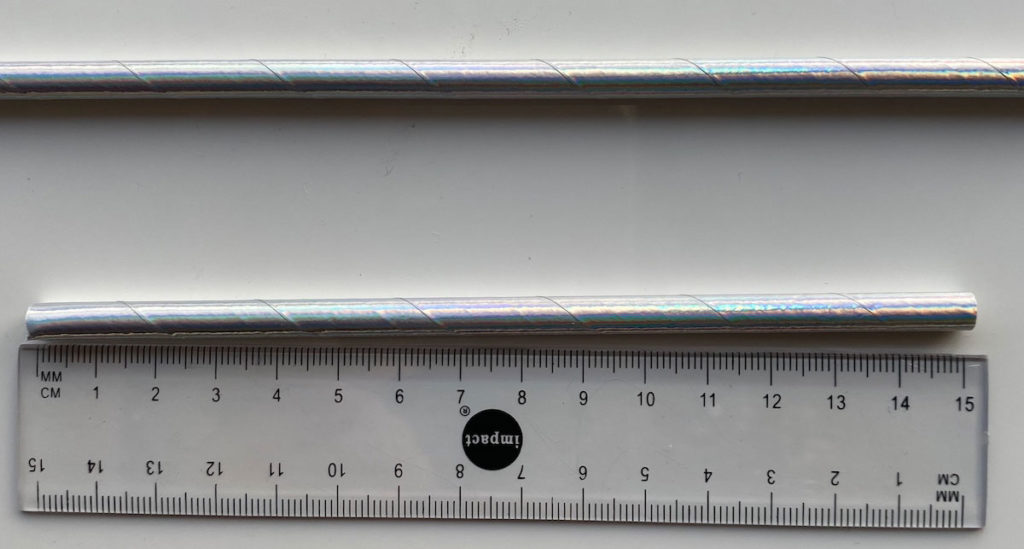
Take your 2 paper straws. Cut one straw to 15cm in length and keep the other straw at full length.
Cut a notch in the shorter straw, 7.5cm across and fit the longer straw into that notch to form a cross shape. This is the backbone of your kite.
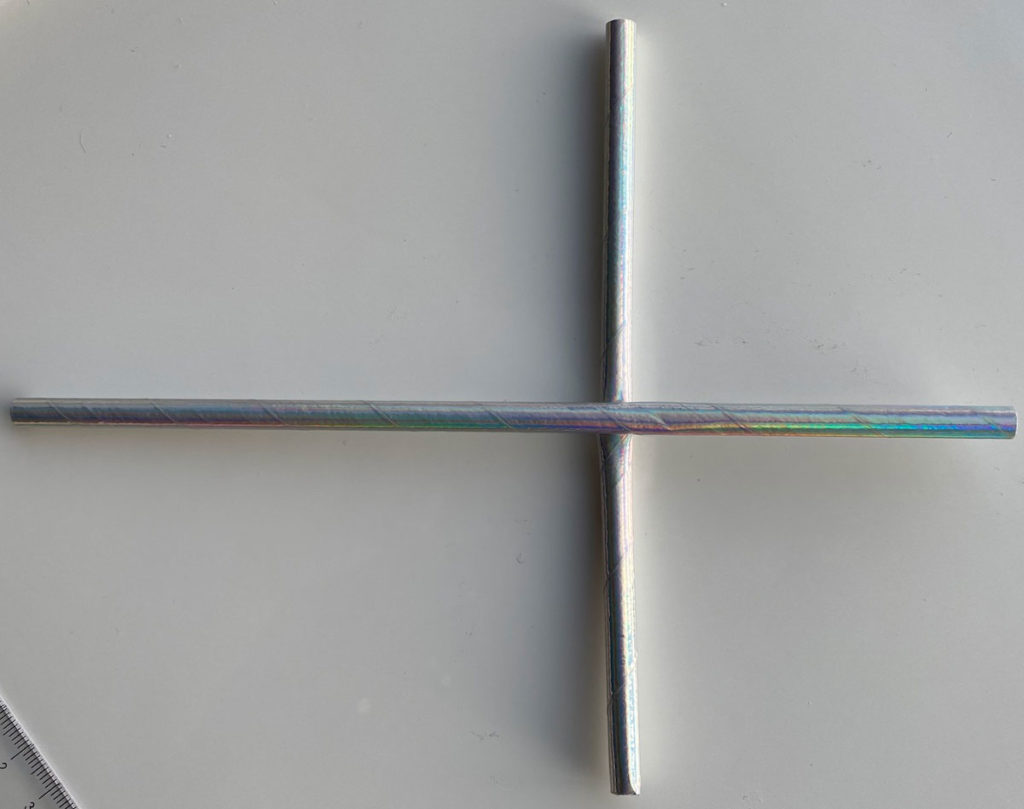
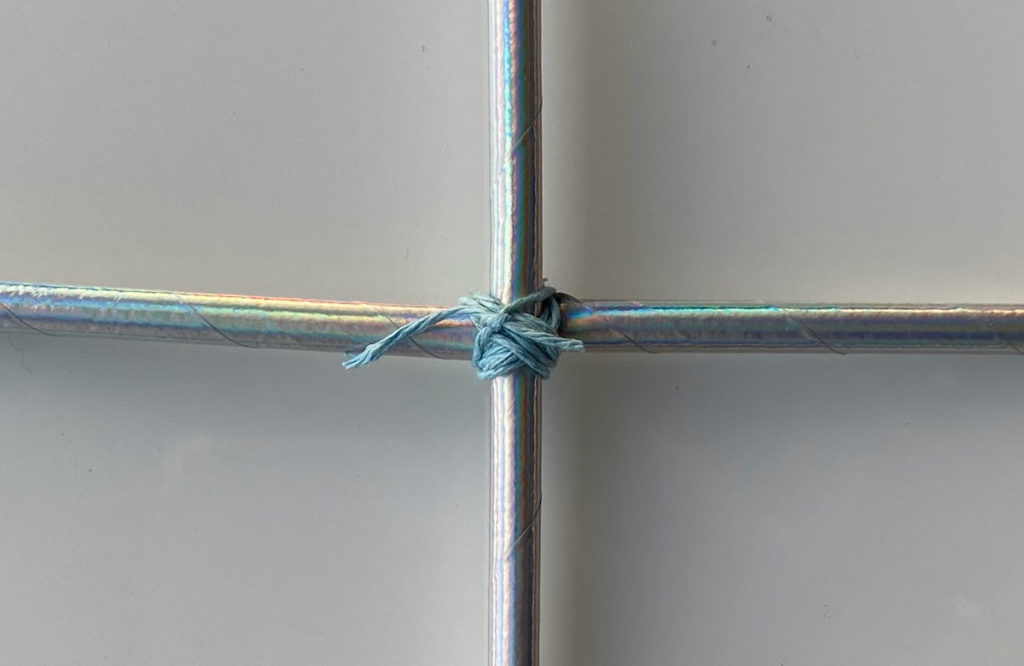
Where the 2 straws connect, tie them together tightly with string, then tie the string you’re going to use to fly the kite to this junction too. If you would like to include a tail on your kite, make sure you leave one end of this strong long, as well as keeping the main length of the string to hold onto.
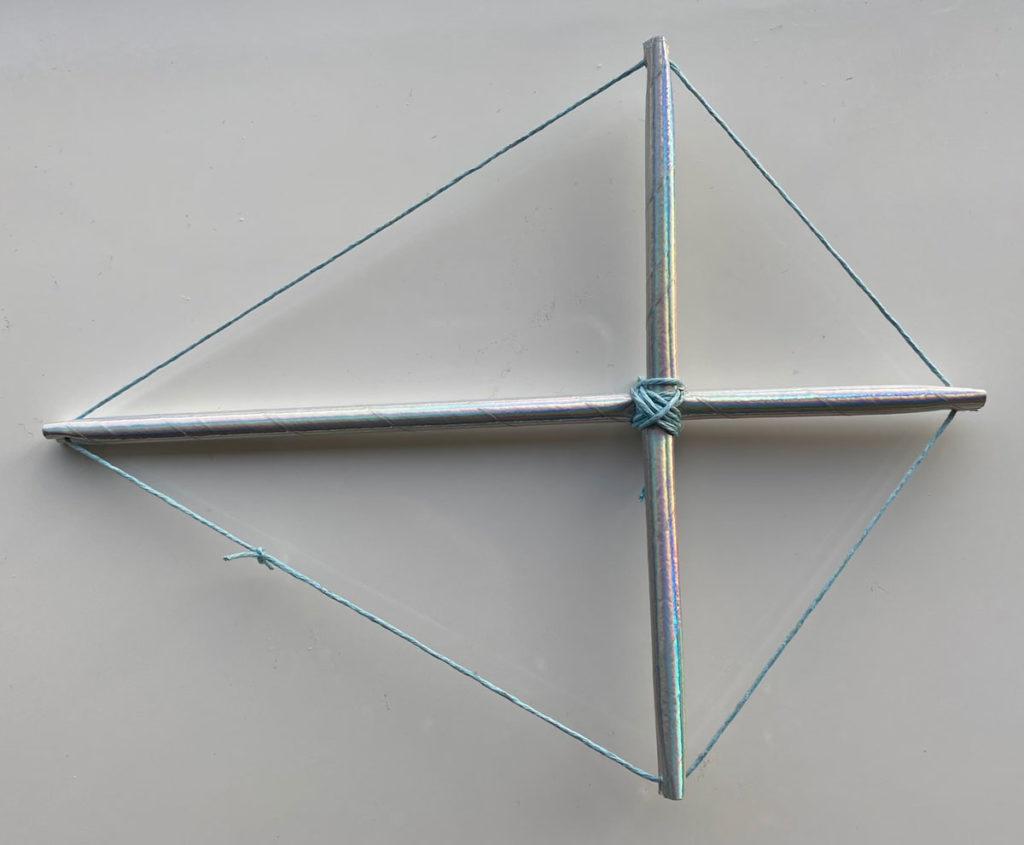
Cut a notch into each straw end, and take a piece of string around the outside edge of the straws. Tie this string tight.
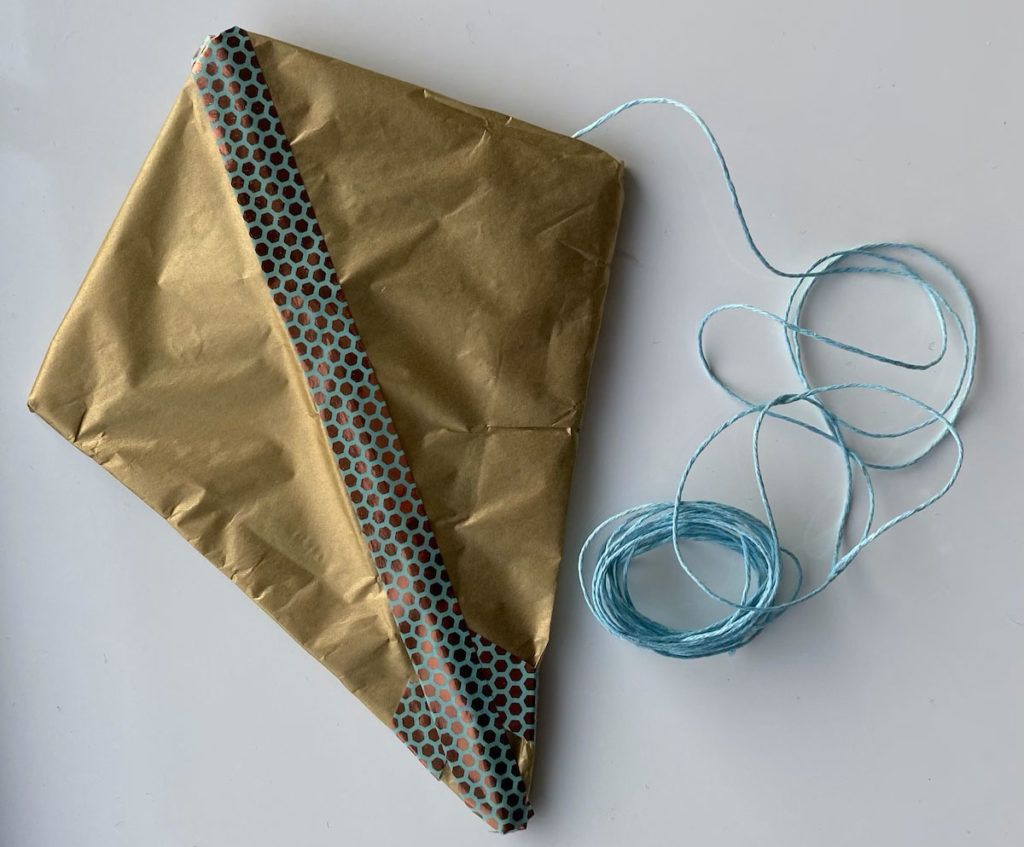
Cut a diamond shape out of your tissue paper, that is at least 3cm bigger on all sides than your straw frame.
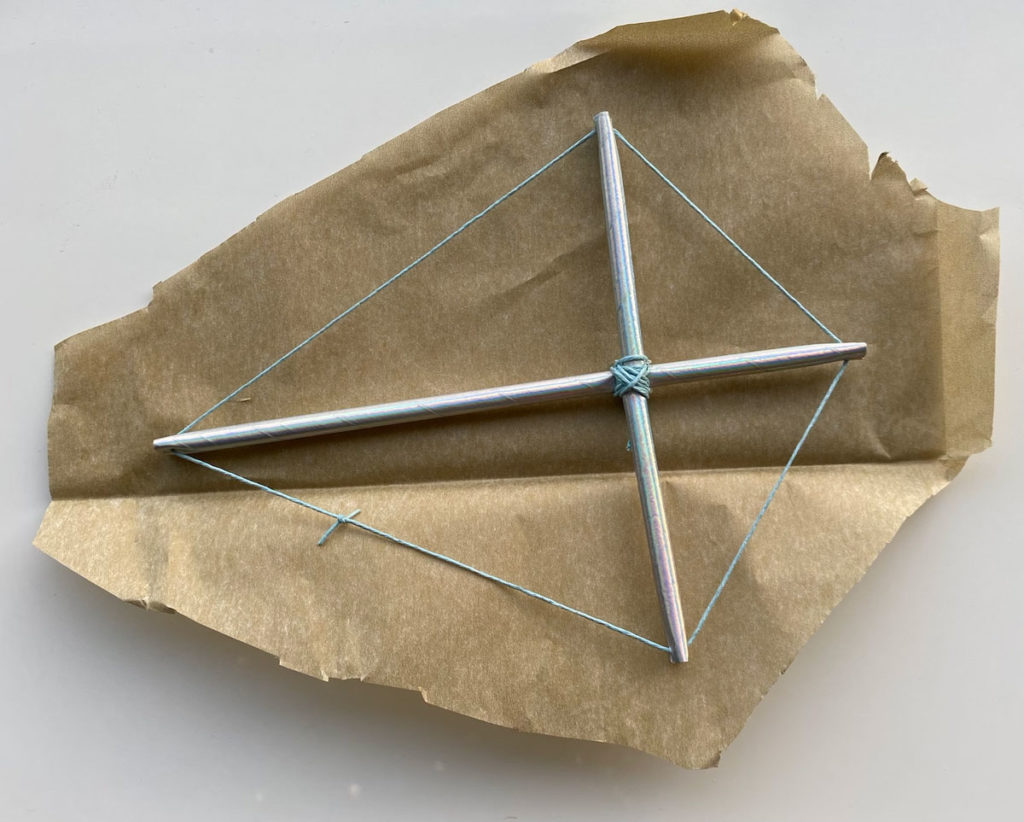
Place your straw frame in the middle of the tissue paper, and fold the edge of the paper over the string taping or glueing down as you go. A double fold can provide a neater edge here if you have enough paper.
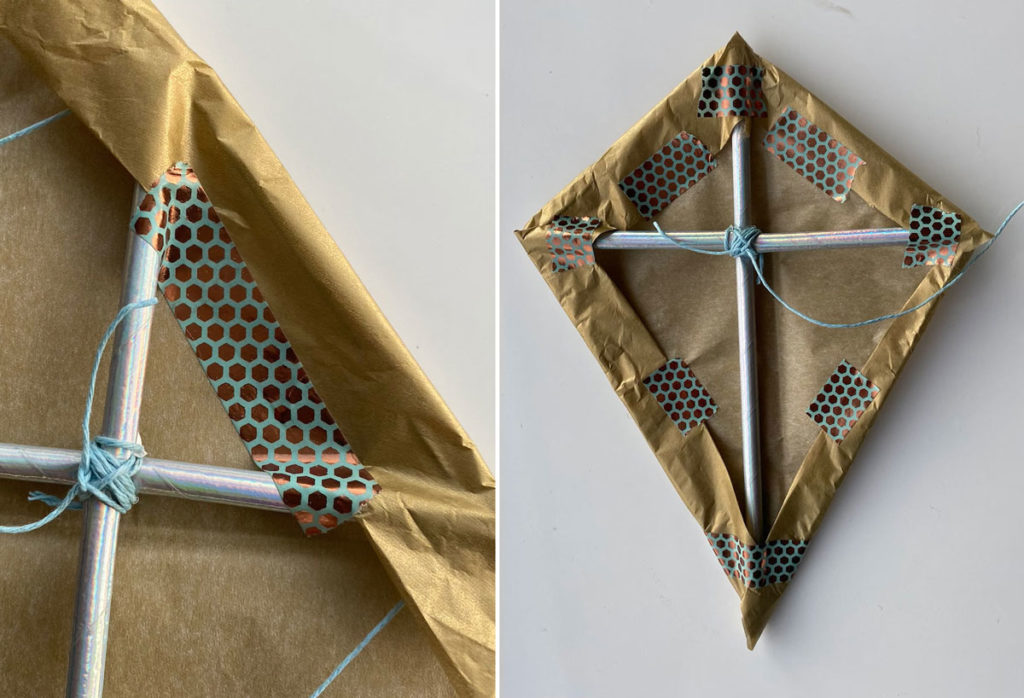
Apply any final decoration to your kite. If you’ve chosen a nice washi tape you could add a little extra here, or why not tie some bows to the tail of your kite?
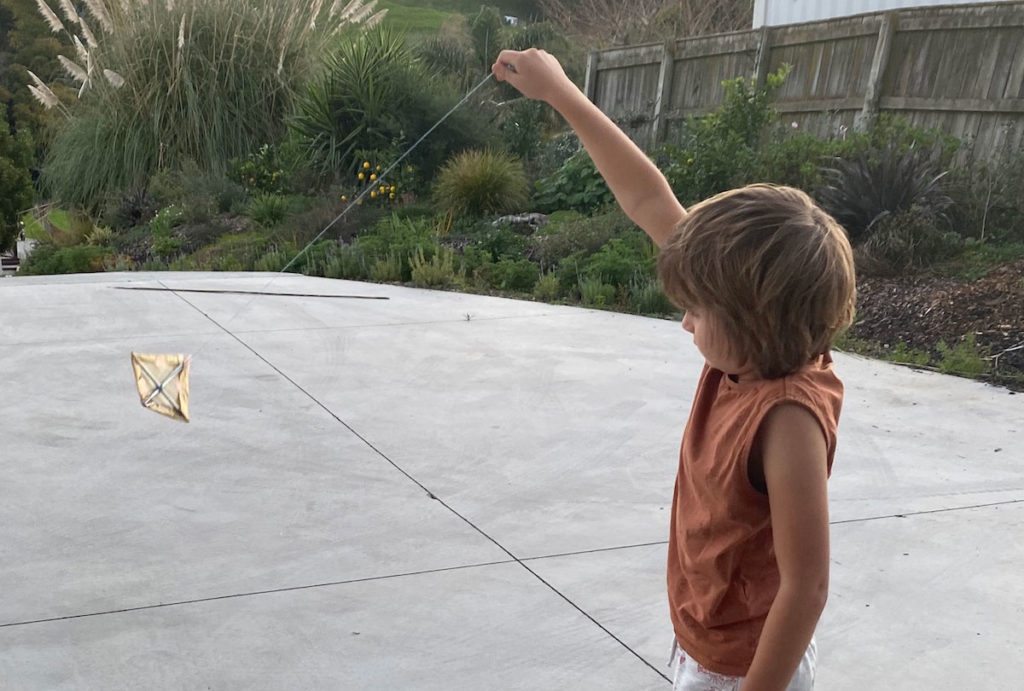
Now your kite is ready to fly. This kite likes nice big gusts of wind so throw it high and run fast to help it catch the air. Enjoy your kiteflying!
How did you find this activity? Do you have feedback or suggestions for ways to make it even more fun? Don’t forget to send us an email at admin@littlemagpies.co.nz.