If you want to bring some sunshine into your day then these paper daffodils are just the thing. They’re simple to make and once you start, you’ll find you can experiment with shapes and colours to make a bunch of flowers that’s the perfect gift.
You may like your creation so much you decide to keep it for yourself! Or why not make a few bunches of these beautiful flowers and sell them to raise funds for the Cancer Society.
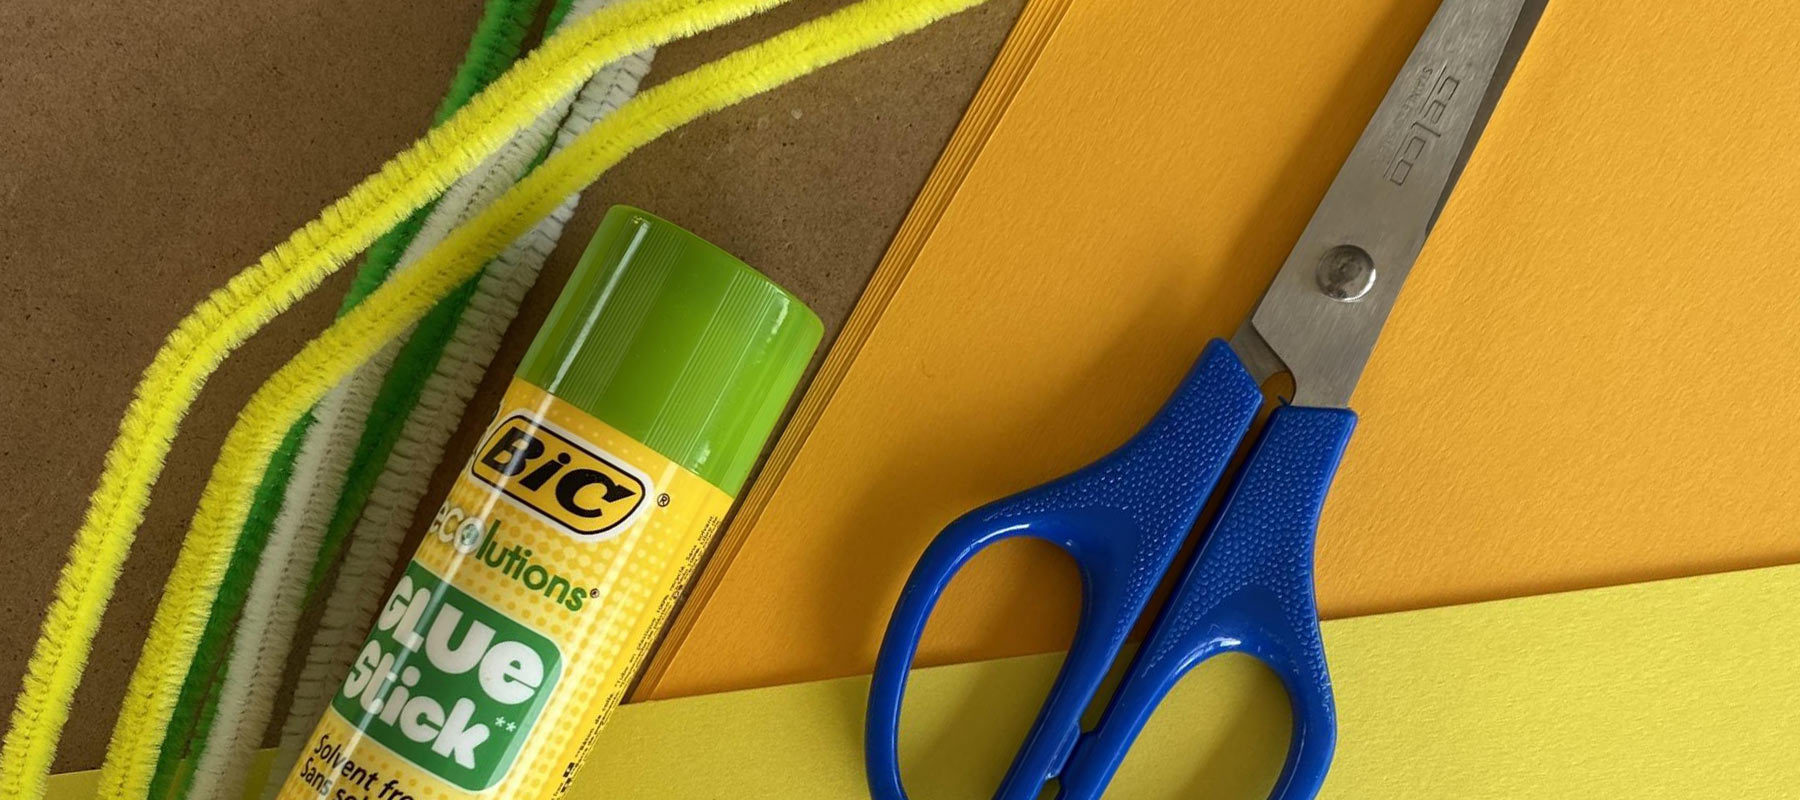
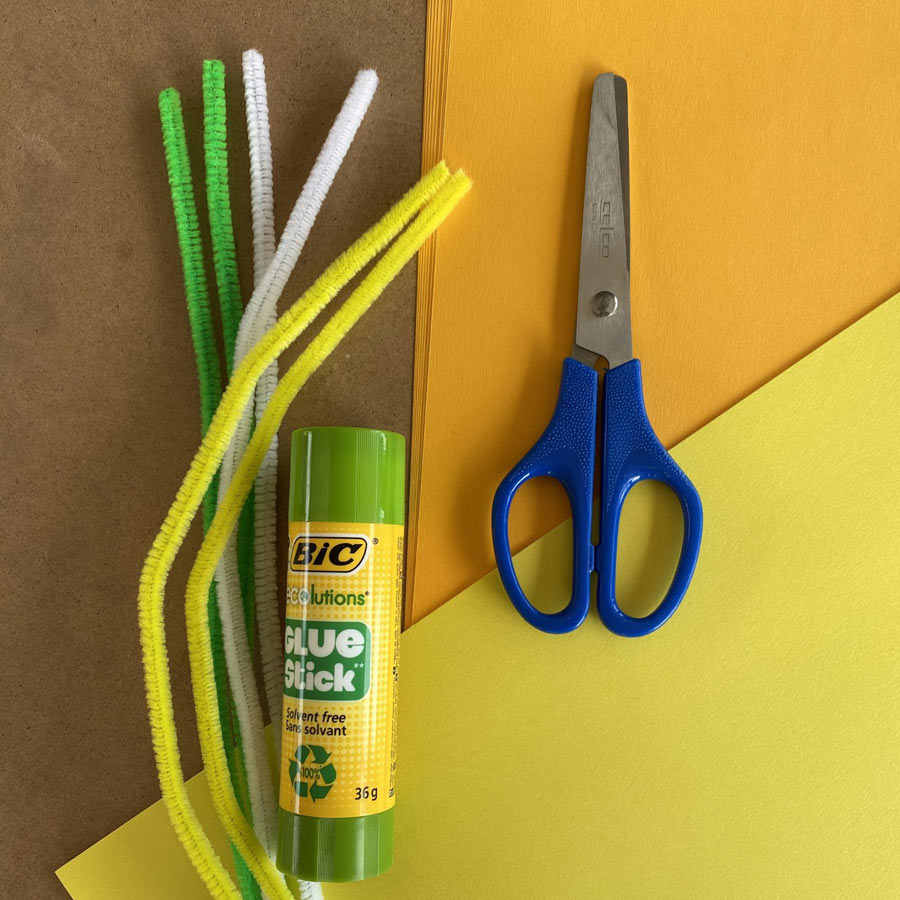
What you need:
Take the paper you want to use for your outer petals. We started with yellow. Make a square that’s 10cm across.
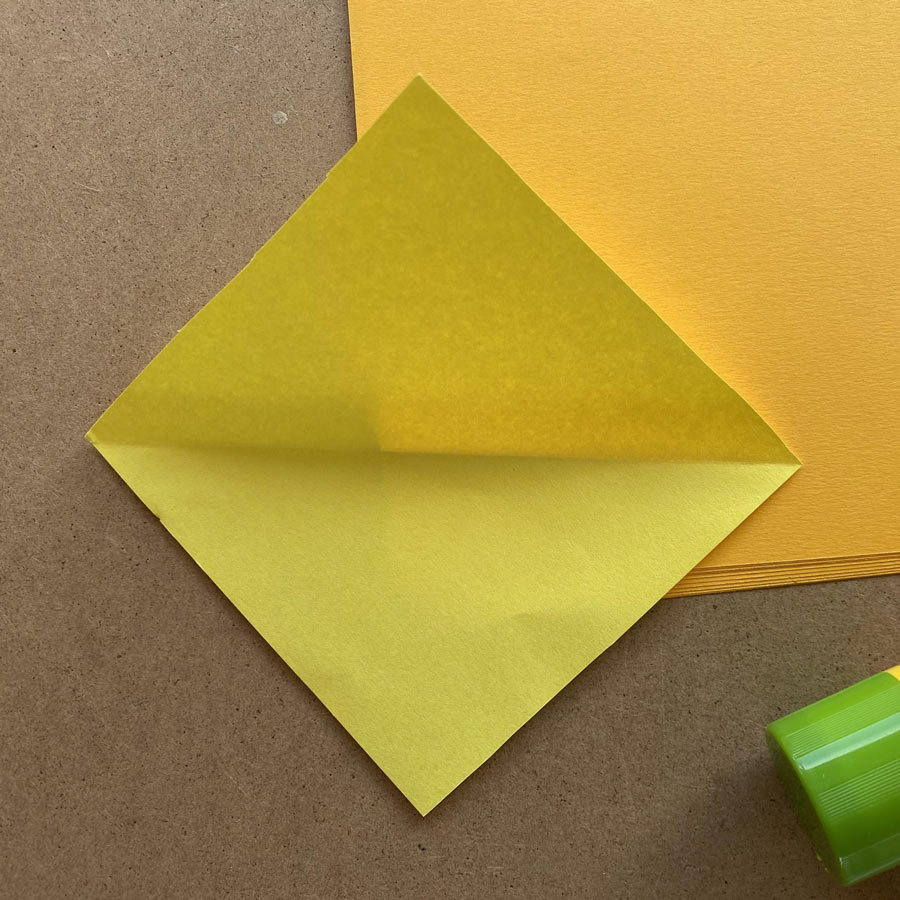
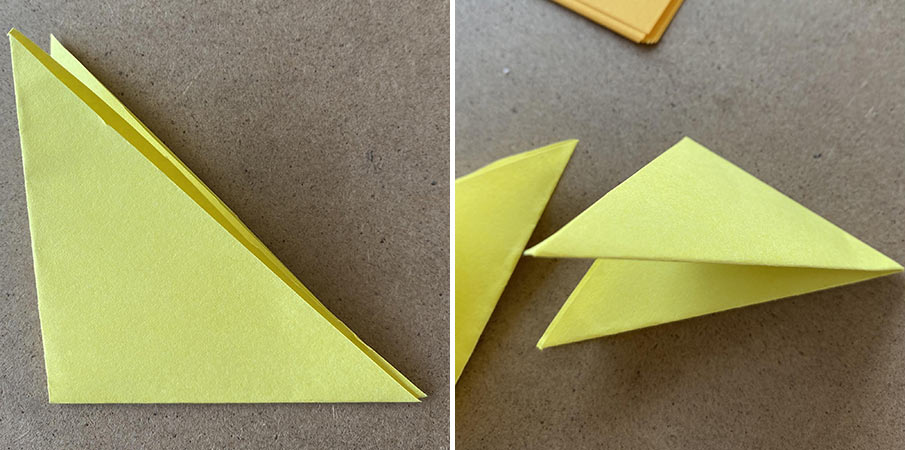
Fold it corner to corner into a triangle. Then fold it outside point to outside point two more times so you have a small triangle.
Now you’re going to cut out your petal shape. Nip off the inner point to make a space for your pipe cleaner to thread through (only a small snip needed here!) and at the other end of your petal cut a rounded edge. Unfold your petal and see the shape of your flower.
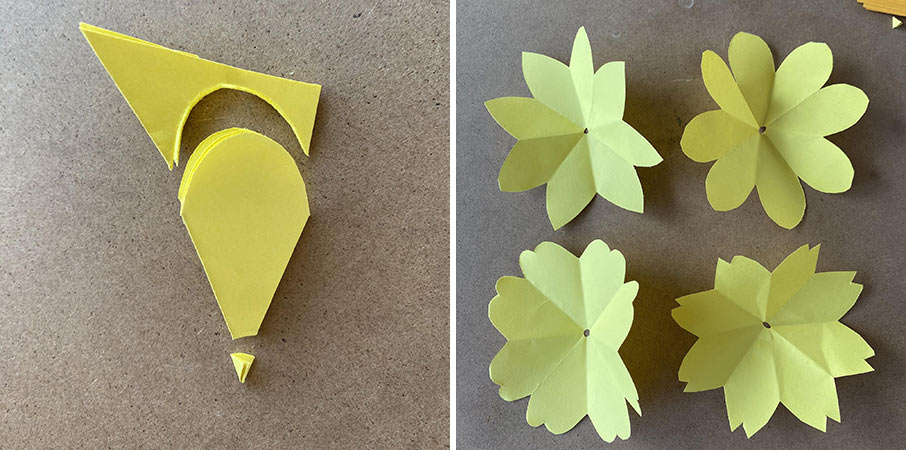
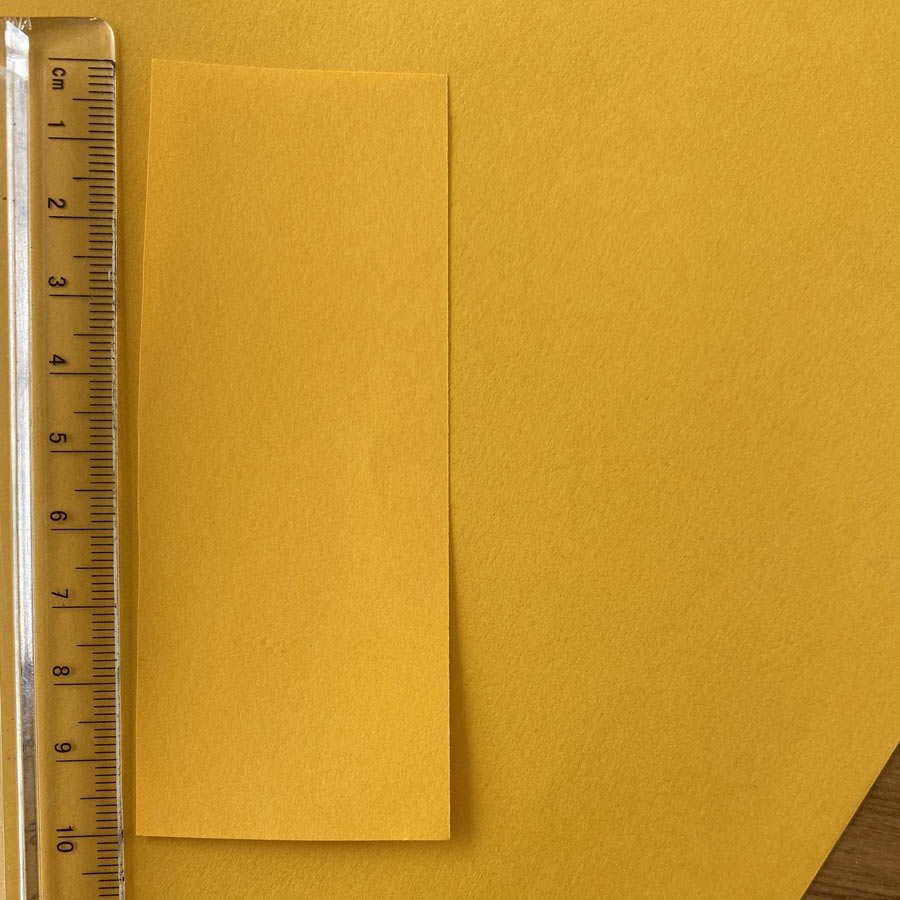
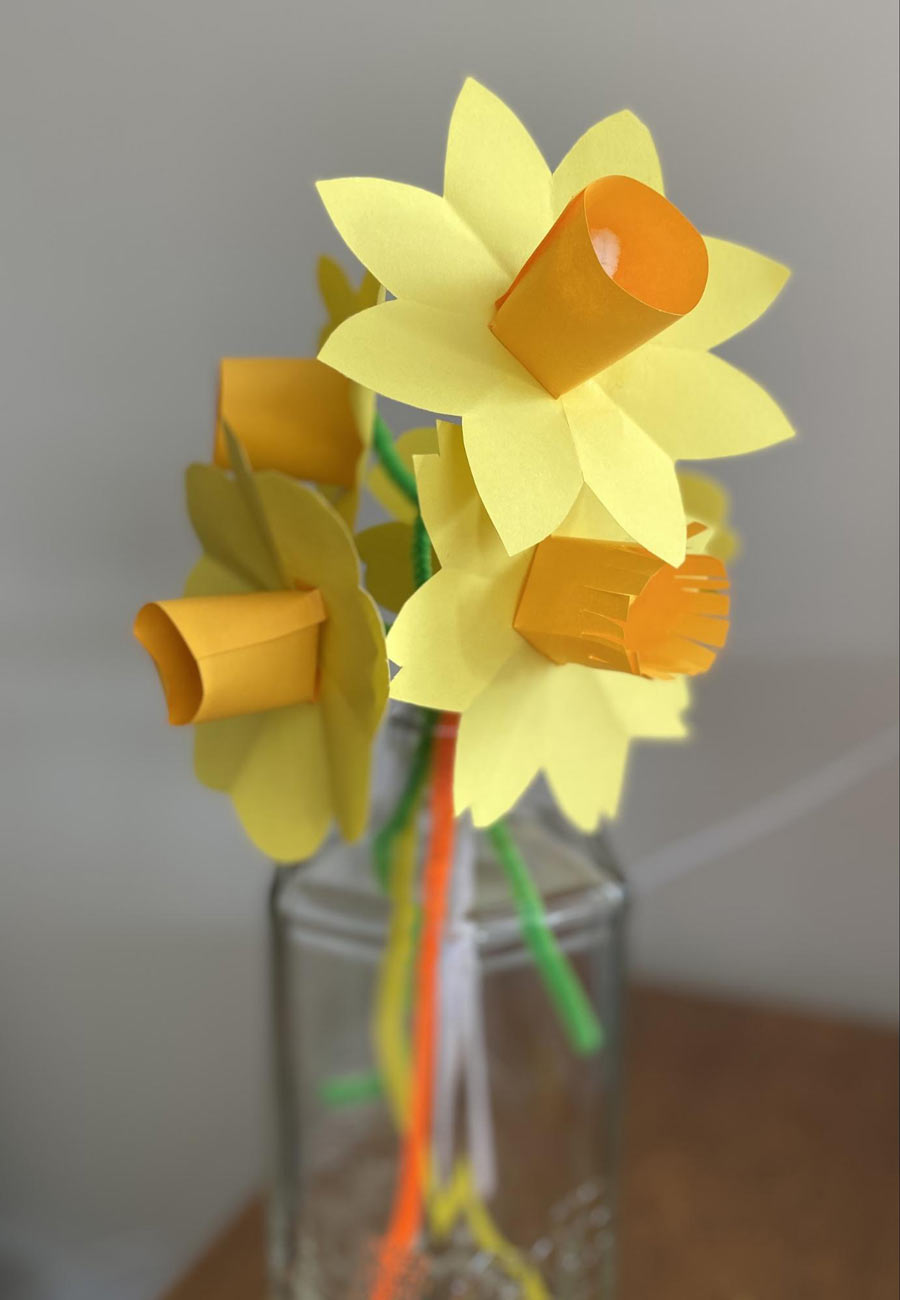
Note: once you’ve made your first daffodil you might like to experiment with other petal shapes like we did…
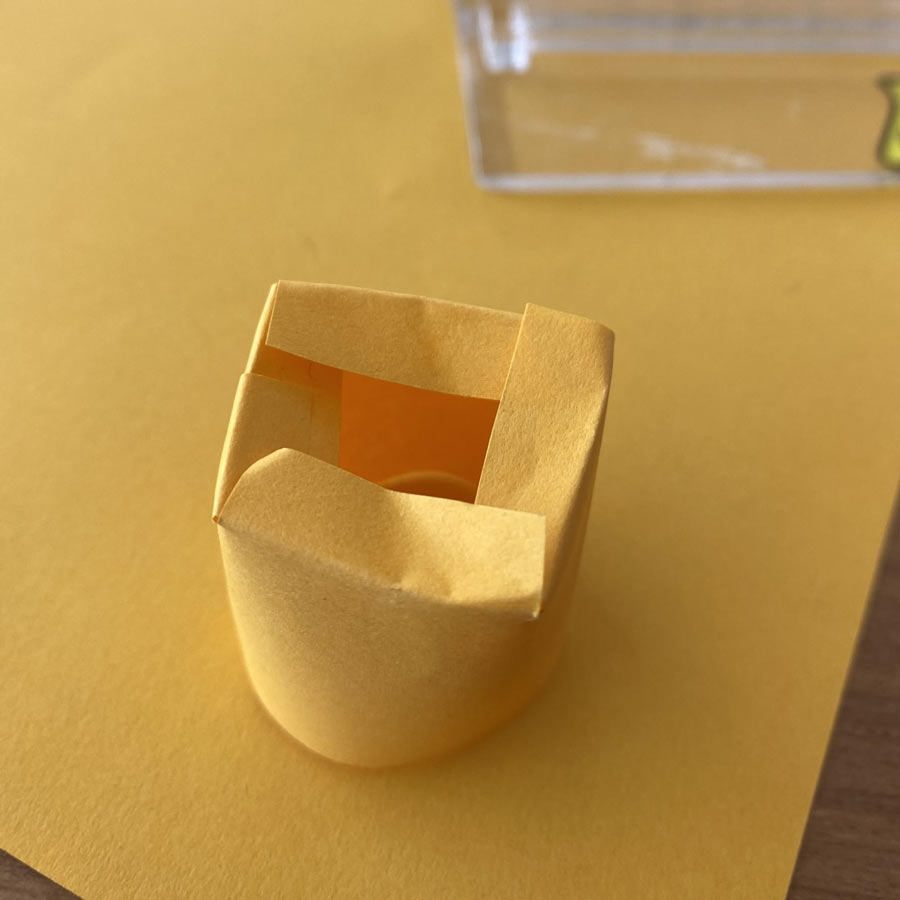
Now take your contrasting paper colour. Cut out a rectangle that’s roughly 10cm x 4cm. This is going to form the centre of your daffodil.
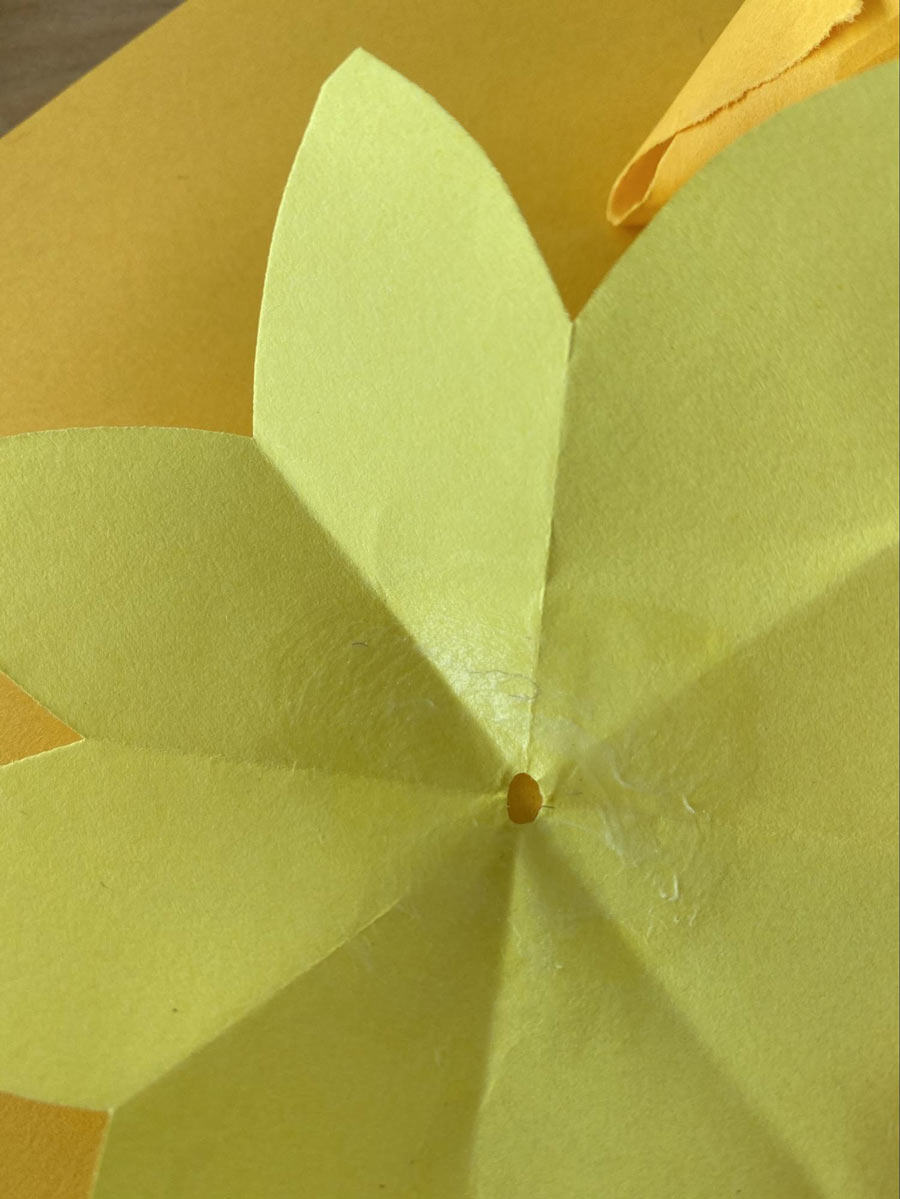
Glue along the edge of one of the shorter ends of the rectangle. Roll the rectangle up to form a tube from the other end, pressing it in place onto the line of glue.
Now, on one end of the rectangle, make 4 equally spaced cuts of about 1/2 cm each. Fold the paper over by pinching it between your thumb and first finger, as in the picture.
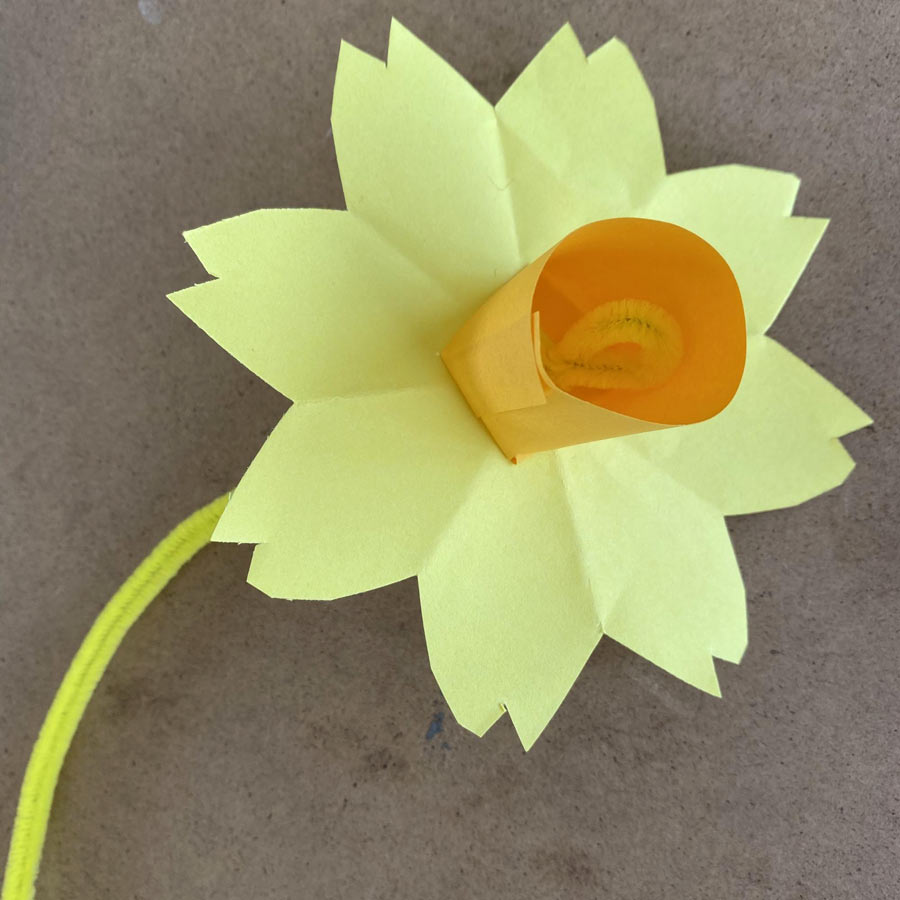
Now glue a rough circle on the very middle of the flower petals, so it surrounds the hole.
Take the folded end of the daffodil centre and press it against the petals. Push each fold against the glued petal to hold it in place.

Fold over one end of your pipe cleaner and twist it around itself to hold it in place.
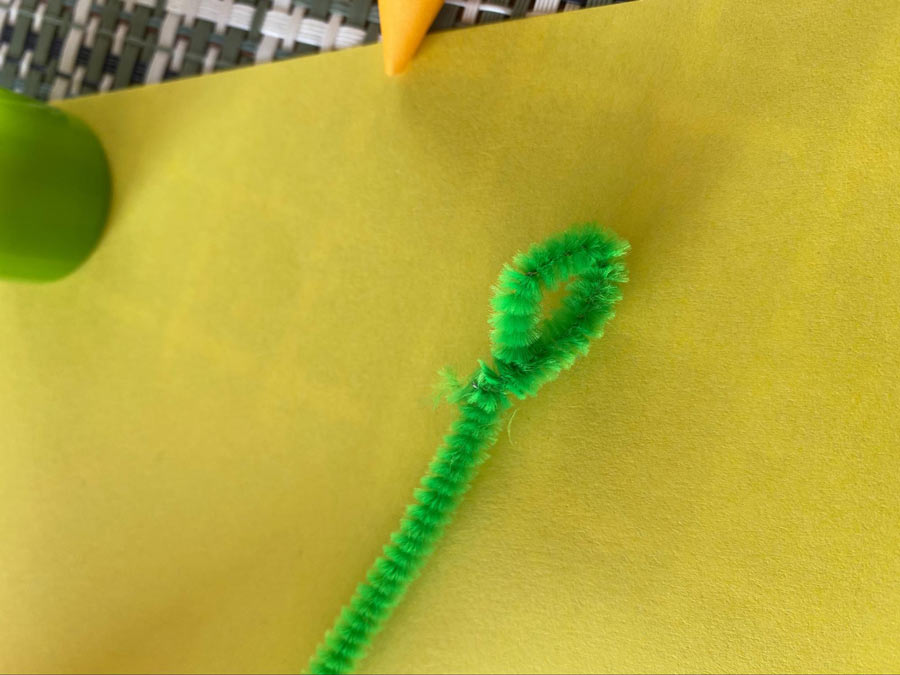
Thread the pipe cleaner through the centre of the daffodil. Now your daffodil is complete!
Now repeat! You can trim the edge of the centre of the daffodil to create a frilled effect.
Get creative and vary your flower colours and shapes. Have fun and create a beautiful bunch of springtime joy.
How did you find this activity? Do you have feedback or suggestions for ways to make it even more fun? Don’t forget to send us an email at admin@littlemagpies.co.nz.